Simulate in your model's own view
Simulate now happens in the same 3D view as your model, with your parts as bodies and items you drag on the grid, and the whole interface is a little more compact.
Model and Simulate, one view
A box made in the model, before and after pressing Simulate.
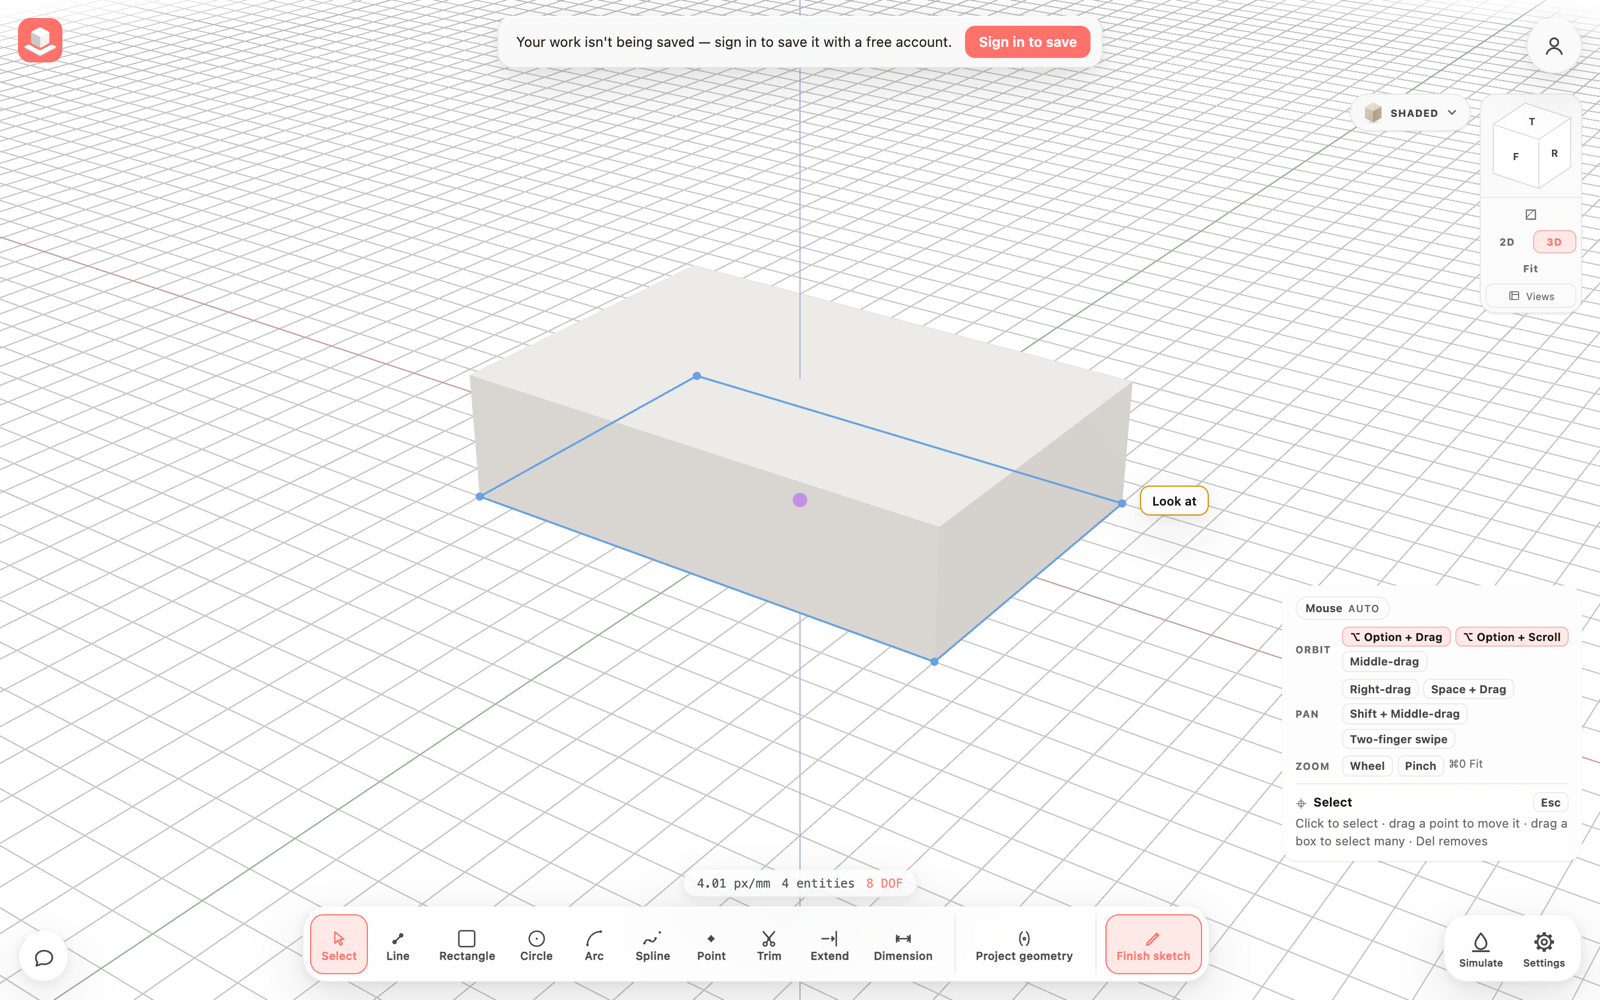
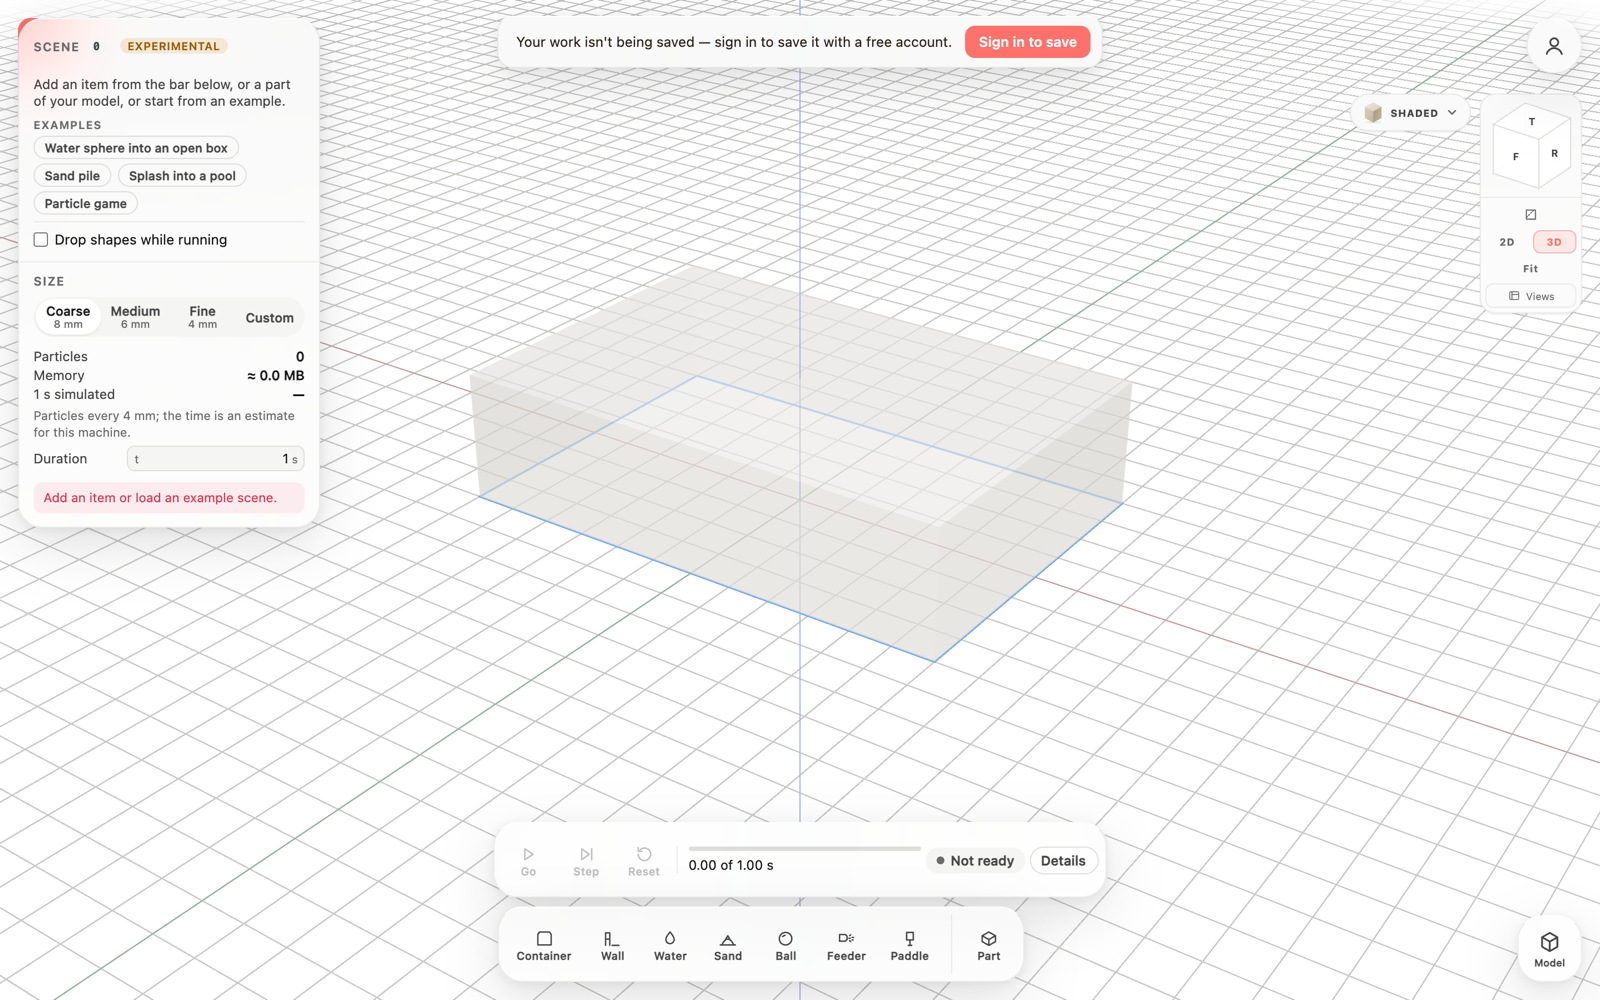 BeforeAfter
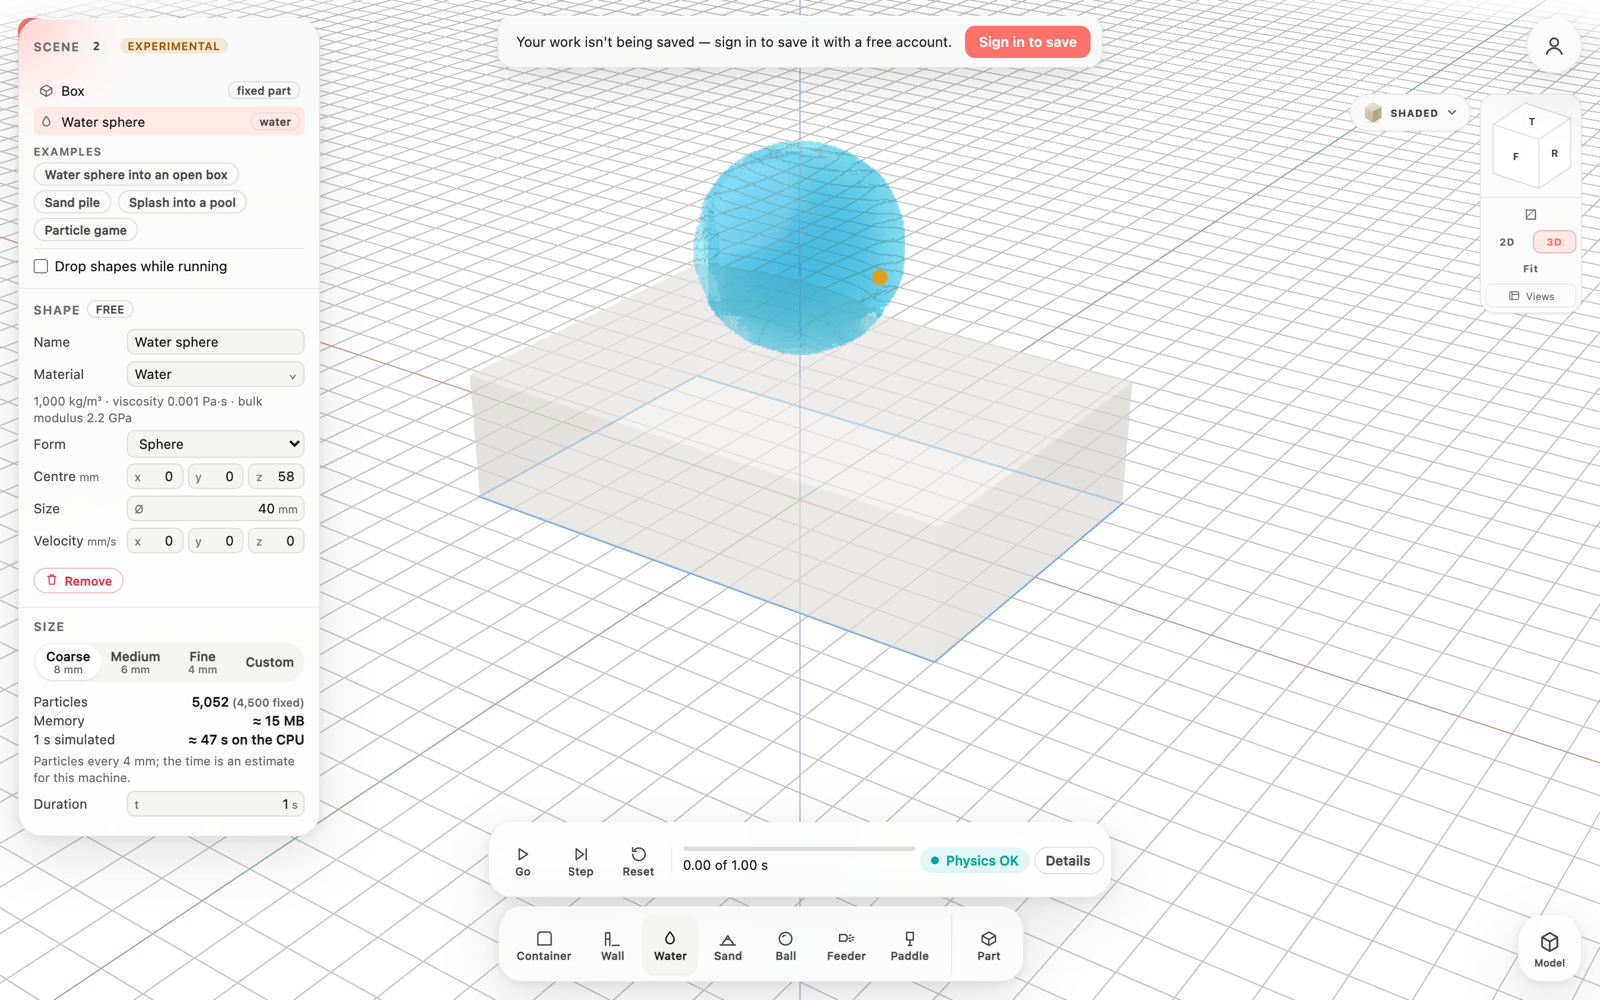
Your part as a body, water on it
The box from the model added as a fixed part, with water added above it.
More model, less frame
The same part with the Fillet card open, before and after, on a 1440 by 900 screen.
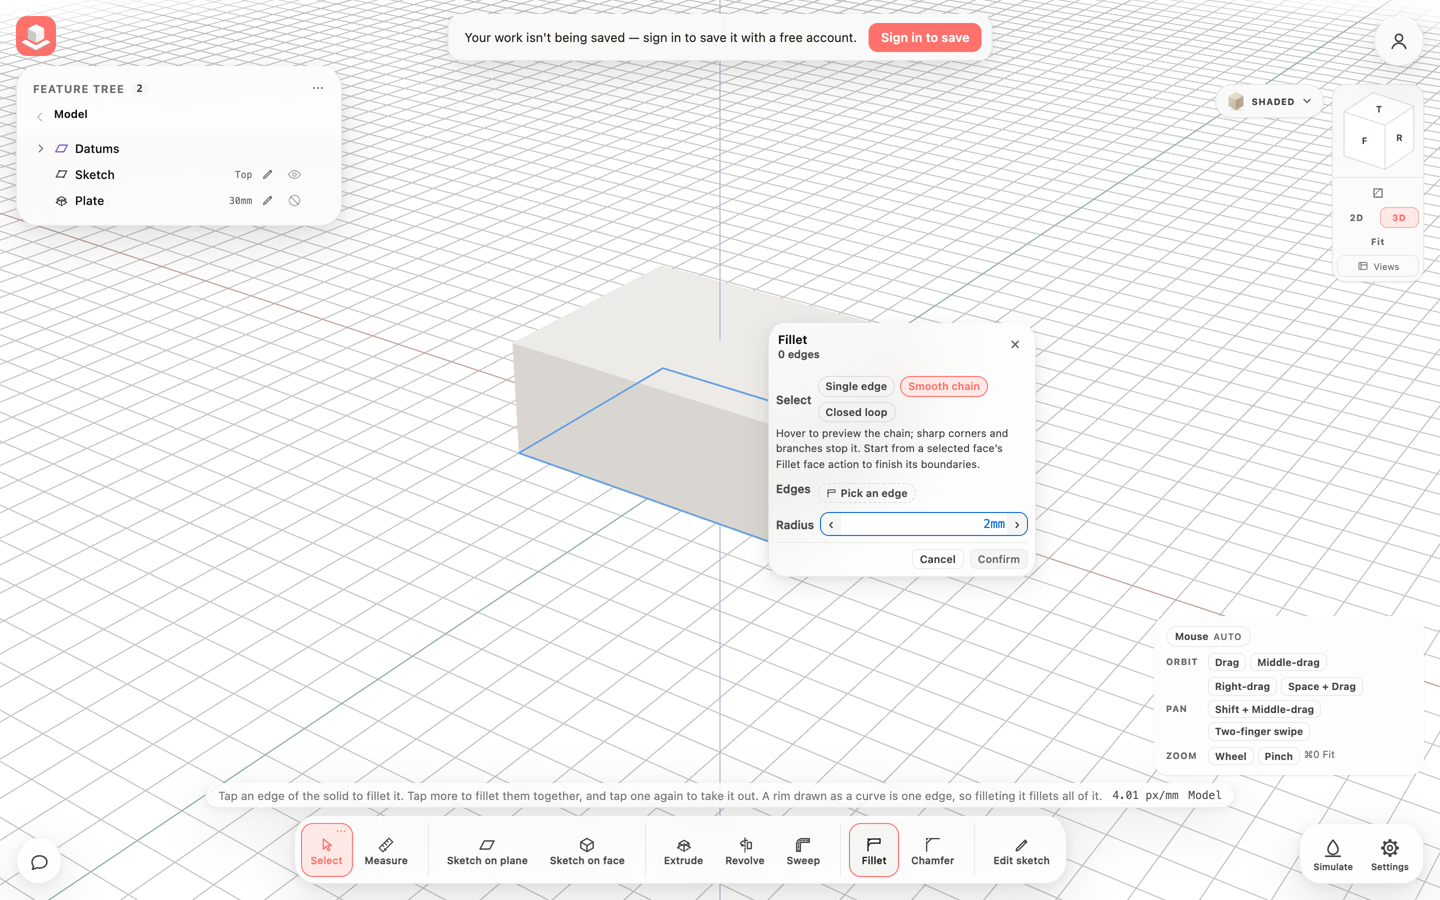
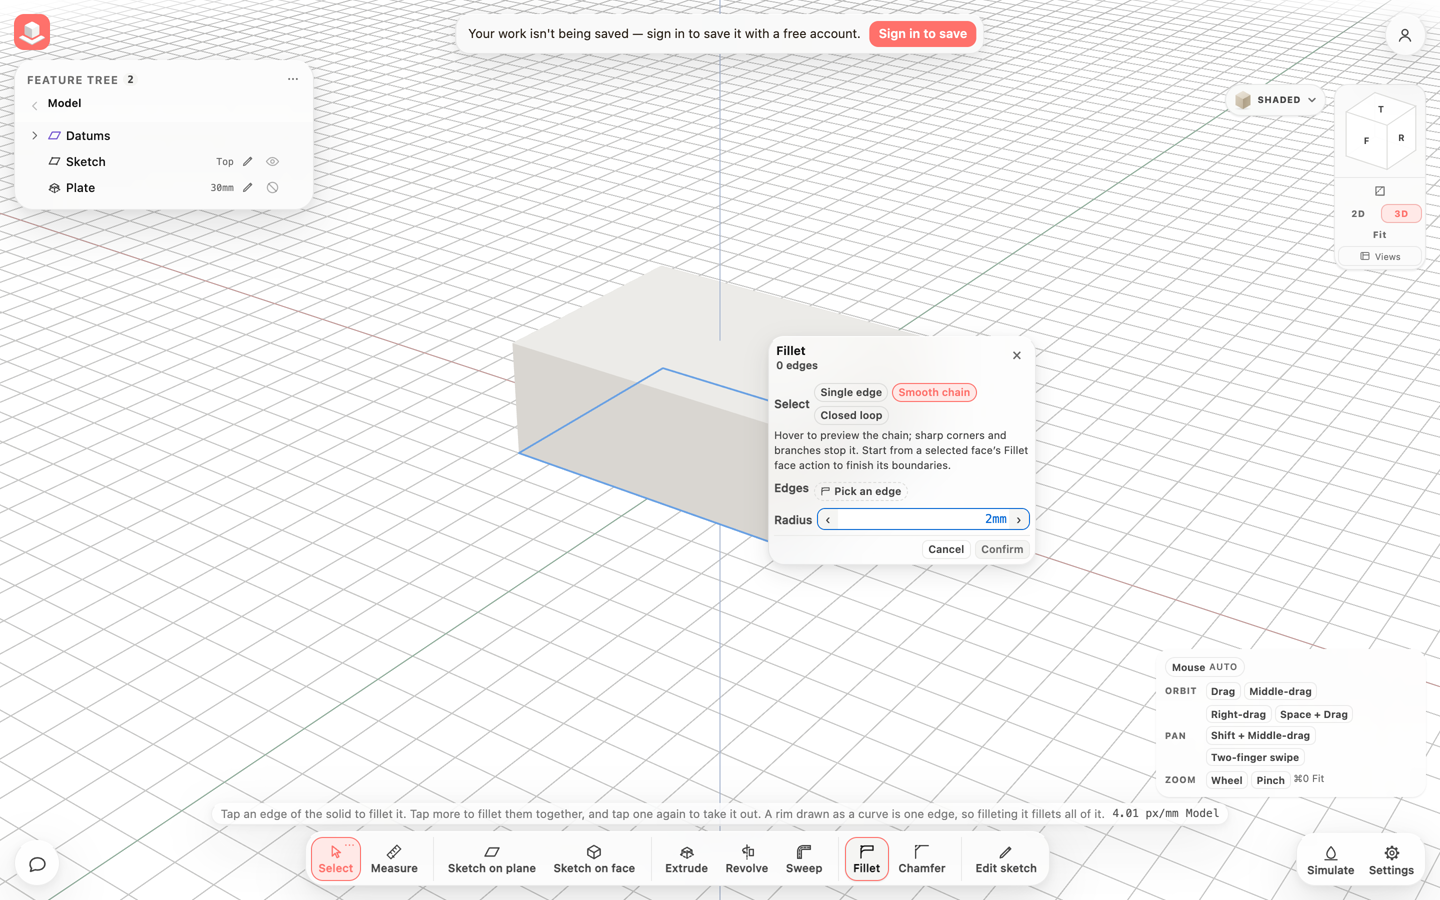 BeforeAfter
From your model straight into a simulation
Model and Simulate are one view. Pressing Simulate keeps the camera, the grid and your parts and swaps only the controls, so you can build a scene around what you have modelled and look at it from the same angle. Pressing Model takes you back with the same view.
The simulation uses your model's coordinates: millimetres, with Z up and the grid plane as the floor. A part added to the scene is simulated exactly where it is drawn.
- Make a part in Model, for example a rectangle extruded into a box, and press 3D.
- Press Simulate in the bottom-right dock. The first time in a session, read the Experimental notice and press I understand, open Simulation.
- Press Part in the bottom bar and choose your part. It is added as a fixed body.
- Press Water. The water sphere appears above your part, where you are looking.
- Press Go. The water falls onto the part and runs off its edges. Press Pause to stop, or Reset to go back to the start.
Place, move and resize in the view
Items are handled like the model's parts. Click one to select it; its outline turns amber and round handles appear on its faces. The Scene panel keeps the exact numbers for when you want them.
Dragging empty space still turns the view, the mouse wheel zooms, and the view cube, Fit and Views work as they do in Model.
- Press Container. The open box appears in the middle of the view, standing on the grid.
- Drag one of its walls to move it. It follows the grid in 5 mm steps (the model's snapping).
- Drag the round handle on its top face upward to make it taller, or a side handle to make it wider.
- Press Water and drag the sphere into the container: it settles on the container's floor. Water added while the container is in the middle of the view rests above its rim instead and pours in when you press Go.
- Press Delete to remove the selected item.
Limits
Walls and containers stay axis-aligned and cannot be rotated in the view yet. Moving a part in the scene moves only its simulated body; the model is not changed.
Handles are hidden while the scene runs. Free bodies can be moved again after Reset. Fixed items can be moved or resized while the run is paused, and the scene then starts again from the beginning.
Simulation is still experimental. Large or fine scenes take long to compute, and a part must be a closed solid to be filled with particles.
Everything in this release
Improved
- On a computer, the tool bar, the corner buttons, the top bar, the Feature tree, menus, cards such as Fillet, and dialogs such as Sign in take about 10–15 % less space. The Feature tree card is narrower, tool buttons are shorter and the space inside panels is tighter.
- The words under the tool icons are slightly larger than before, so the names stay easy to read in the smaller bar.
- On a phone, the tool bar, the corner buttons, the top bar and the Feature tree rows are about a tenth smaller than before. Each button still answers a tap anywhere in a fingertip-sized area around it.
- Your model's own labels, such as dimensions in the 3D view, keep their size.
- Simulate opens in the same 3D view as the model. The camera stays exactly where it was in both directions, and the grid, view cube, 2D/3D, Fit and Views stay on screen.
- While simulating, your model stays visible, slightly faded. The Feature tree becomes the Scene panel, the modelling tools become the Add tools, and Simulate becomes Model. The run bar sits where the status line is.
- Container, Wall, Water, Sand, Ball, Feeder and Paddle add the item where you are looking, standing on the grid. A new item never goes inside another item: water added over a container rests above its rim.
- Click an item in the view to select it. Drag it to move it along the grid with the model's snapping, and drag its round handles to resize boxes, walls, containers, spheres and cylinders. Delete removes the selected item; the arrow keys nudge it by one grid step.
- Water, sand or a ball dragged over another item is lifted to rest on top of it, and water dragged into a container settles on the container's floor.
- Part adds a part of your model to the scene, filled with particles from its own solid exactly where the model has it. It is fixed by default; Free body makes it fall and collide as a body of the material you choose.
- While the scene runs, you can grab the paddle in the view and drag it directly. The Paddle and Drop tools now lead the Add bar.
- Water and sand are drawn over the model in the model's own colours, so the white paper no longer turns grey.
Other improvements
- Simulate opens in the model's own 3D view: the camera, grid, view cube and your parts stay, and only the controls change (Scene panel, Add bar, Model button, run bar).
- In Simulate, items are added where you are looking, never inside another item. Drag them on the grid to move them, drag their handles to resize them, and press Delete to remove them.
- In Simulate, Part adds a part of your model to the scene, as a fixed body or a free body of a chosen material, so water can be poured onto your own part.
- Water and sand drawn over the model keep the model's colours: the paper no longer turns grey while water is on screen.
- The app is more compact: on a computer the tool bar, top bar, Feature tree, menus, cards and dialogs take about 10–15 % less space, and the words under the tool icons are slightly larger so they stay easy to read.
- On a phone the tool bar, corner buttons, top bar and Feature tree rows are about a tenth smaller again, and every button still answers a tap anywhere in a fingertip-sized area around it.
